

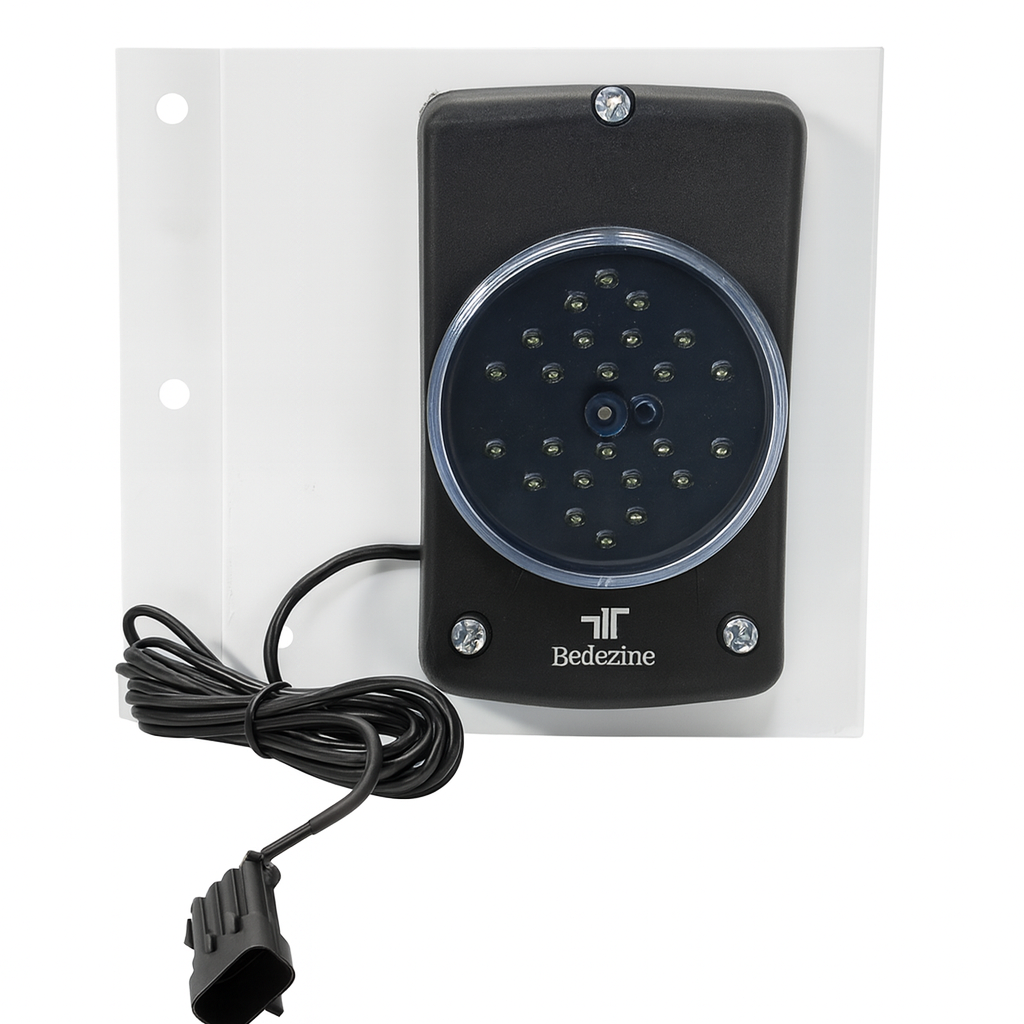
The Carrier wireless LED status light is a small, deceptively simple device — a palm-sized unit mounted on the trailer door post that gives drivers and dock workers an at-a-glance view of refrigeration unit health. When it works, it's invisible. When it fails, the consequences range from a frustrated driver to a spoiled load — and a messy dispute over who pays.

The Five Failure Modes
After examining units across a range of fleet ages and climates, five root causes account for virtually all LED status light failures — ranked here by frequency.
|
#1 Failure Mode
Physical Damage Impact from dock equipment, loading, or highway debris. Often goes unreported — creating a costly accountability gap. |
#2 Failure Mode
Wiring Rub-Through & Pin Loss Exposed cable along the door post. Continuous door cycling and trailer flex abrade the jacket. Connector pins corrode or seat improperly. |
|
#3 Failure Mode
Water Intrusion Wash-bay pressure washing, road spray, and condensation defeat the seals. The lens fogs, the PCB shorts, and the LEDs die. |
#4 Failure Mode
Improper Installation Unit not enabled in the reefer controller, missing fuse, or incorrect wiring polarity. The light was never going to work from day one. |
|
#5 Failure Mode
LED Burnout End-of-life failure. Typically the longest to manifest and the least controversial to diagnose and warranty-claim. |
|
Physical Damage — The Silent Fleet Problem
Physical damage is the leading cause of LED status light failure, and it carries a problem that goes well beyond the part cost: drivers rarely report it.
The unit sits on the passenger-side door post — an exposed location that takes glancing hits from dock levelers, forklift masts, adjacent trailers, and loading equipment. A direct impact can crack the housing, shear off the mounting bracket, or sever the cable. In many cases the damage is subtler: a hard knock deforms the housing just enough to break the seal or shift the PCB, and the unit starts failing days or weeks later.
The accountability gap
When a fleet discovers a damaged unit during a shop inspection, the trailer may have cycled through multiple drivers since the incident. The fleet wants to assign the repair cost — OEM replacement parts are not cheap — but cannot definitively prove who damaged it or when. The result is driver-fleet tension, contested deductions, and a chilling effect on honest incident reporting.What fleets can do
The fix is procedural, not mechanical. Adding the LED status light to the pre-trip and post-trip inspection checklist — explicitly, with a photo requirement — creates a timestamped record that protects both parties. Some fleets have added rubber bump guards around the mounting bracket, reducing incident frequency and damage severity.

Wiring Rub-Through & Pin Failure
The cable connecting the LED unit to the reefer controller runs along the door post and across the trailer structure. It's secured with tie-wraps or adhesive clips — mounting that degrades with age and temperature cycling.
Once a cable section loses its securing point, door operation creates repeated flex stress at the same spot. The outer jacket abrades against metal edges, eventually exposing conductors. This produces intermittent operation before complete failure — the most frustrating pattern to diagnose in the field, because the unit will appear to work correctly when stationary and bench-tested at the shop.
Connector pin problems follow a similar pattern. The plug at the reefer unit develops a loose fit from vibration, while pins corrode in the wash-bay environment. A pin that reads fine on a resistance meter under test conditions may float open under vibration.
Inspection tip
When a unit is reported intermittent, flex the cable along its full run by hand before condemning the light itself. A fault that reproduces with mechanical flex is a wiring problem — replacing the LED unit won't fix it.Water Intrusion
The primary driver of water intrusion failure is condensation. The LED unit lives on the exterior of a refrigerated trailer — constantly cycling between cold and warm as the trailer loads, unloads, and operates. That temperature differential causes moisture to form repeatedly against the housing, and over time it works its way past the perimeter gasket and behind the lens.
This isn't a single catastrophic event — the seal degrades gradually, condensation accumulates inside the housing, and eventually moisture reaches the circuit board. By the time you notice the fogged lens, the process has been underway for a while. Road spray and pressure washing are secondary contributors that can accelerate seal degradation, particularly on units that have taken prior physical damage.
Early warning sign
Fogging or condensation behind the lens means moisture is inside. At this stage the unit is still recoverable — replace it before the next haul. Once moisture reaches the circuit board the failure is permanent.
Reading the Light Patterns
Before condemning a unit, confirm what the light is actually telling you. Many "failed" units returned under warranty are operating exactly as intended — displaying an alarm state the driver or dock worker interpreted as a malfunction.
| LED State | Color | Meaning | Action |
|---|---|---|---|
| All lit | Green | Unit running normally | None — all good |
| Any amber | Amber | Warning — reefer needs attention, possible shutdown coming | Check controller for alarm codes. Do not ignore. |
| All off | Off | Ambiguous — reefer off, OR power problem, OR LED unit failed | Verify at controller. If unit should be running, inspect power, wiring, and LED unit. |
All off ≠ all clear
A dark LED unit does not confirm the reefer is healthy and off. It may indicate a wiring failure, blown fuse, or a dead LED unit masking an active alarm. Always verify at the controller when the light is completely dark.Improper Installation
A unit that has never worked correctly since installation is almost always an installation error. The most common issues: LED output not enabled in the reefer controller's settings menu, a missing inline fuse, or reversed polarity on the connector.
Installation errors frequently surface when a unit is retrofitted to an older trailer. The aftermarket harness routing may not match the OEM diagram, and some older controllers require a separate software unlock to enable the LED output.
The AVRO Replacement
When the unit does need replacement, the AVRO Parts 76-02000-00 is a direct-fit aftermarket option engineered to OEM spec — same pin-out, same fit, same signaling behavior — at aftermarket pricing.
Need the mounting bracket?
The Carrier Transicold Light Bar Bracket 76-50146-00 is sold separately and mounts to OEM Carrier bracket positions. Pairs with the 76-02000-00 for a complete drop-in installation — $49.99.Summary
The Carrier LED status light operates in one of the harshest environments on a trailer. The failures are predictable and most are preventable — with better pre-trip documentation, wash bay protocols, and installation verification. The physical damage and accountability problem is the most challenging: without timestamped photographic evidence at dispatch and return, fleets and drivers will continue to dispute a $300 part while the larger issue — untreated reefer alarms — goes unaddressed.
This article covers Carrier Transicold refrigeration units including the Vector 6600MT, 7300, 7500, and related models. LED indicator behavior and wiring configurations vary by model year and firmware revision. Always consult the applicable Carrier service manual for unit-specific procedures. AVRO Parts is not affiliated with Carrier Transicold.